WordGuard manual

No worries if you can't figure out how to use our product. Nobody will judge you. Here we'll publish a comprehensive manual to create a seed backup that will last for years.
  1. Introduction

1.1. Purpose of the Manual

This user manual provides step-by-step instructions on how to hand stamp the washers from the WordGuard set using our stamping tool, a hammer, stamp, and a stamp plate. It guides users through the process of creating clear and accurate impressions on metal surfaces.


1.2. Product Overview

To start the hand stamping process, you’ll need:

    • The WordGuard set. Each set comes with the right amount of washers, nuts and bolt. The type of nut depends on the type of WordGuard set. You can find the link here.
    • The stamping tool, this is already included in both Multisig sets (x3-set and x5-set) or can be bought on or site (found here)
    • A set of metal stamps with the right characters for your words. To make the stamp-set work with our stamping tool, the stamps need a letter-height of 3mm and a square footprint of 6x6mm.
    • A hammer.
    • A solid surface. You can find a solid metal stamping plate for sale on our site. (found here)

These tools are used to create permanent markings on washers. This will ensure a durable way for storing your words.


1.3. Safety Instructions

    • Always wear protective eyewear and gloves while hand stamping to prevent injuries.
    • Use proper hand placement and secure the metal plate to prevent slippage during stamping.
    • Avoid stamping near edges or sharp corners to prevent accidents.
    • Keep the work area clean and organized to minimize risks.


  1. Getting Started

Prepare the Work Area:

    • Choose a sturdy work surface, you can choose to cover it with a non-slip mat.
    • Gather all the required tools, including the washers, bolt, nut, stamping tool, appropriate stamp(s) for the desired impression, hammer, and solid stamp plate.
    • Arrange the stamps in the desired order on the stamp plate.
    • Insure adequate lighting for clear visibility.
  1. Stamping Procedure

We'll run through the procedure step by step. You can follow along.

Step 1

Place a washer on the inside of the stamping tool.

Step 2

To stop the washer from moving place a piece of tape on the stamping tool covering the washer.
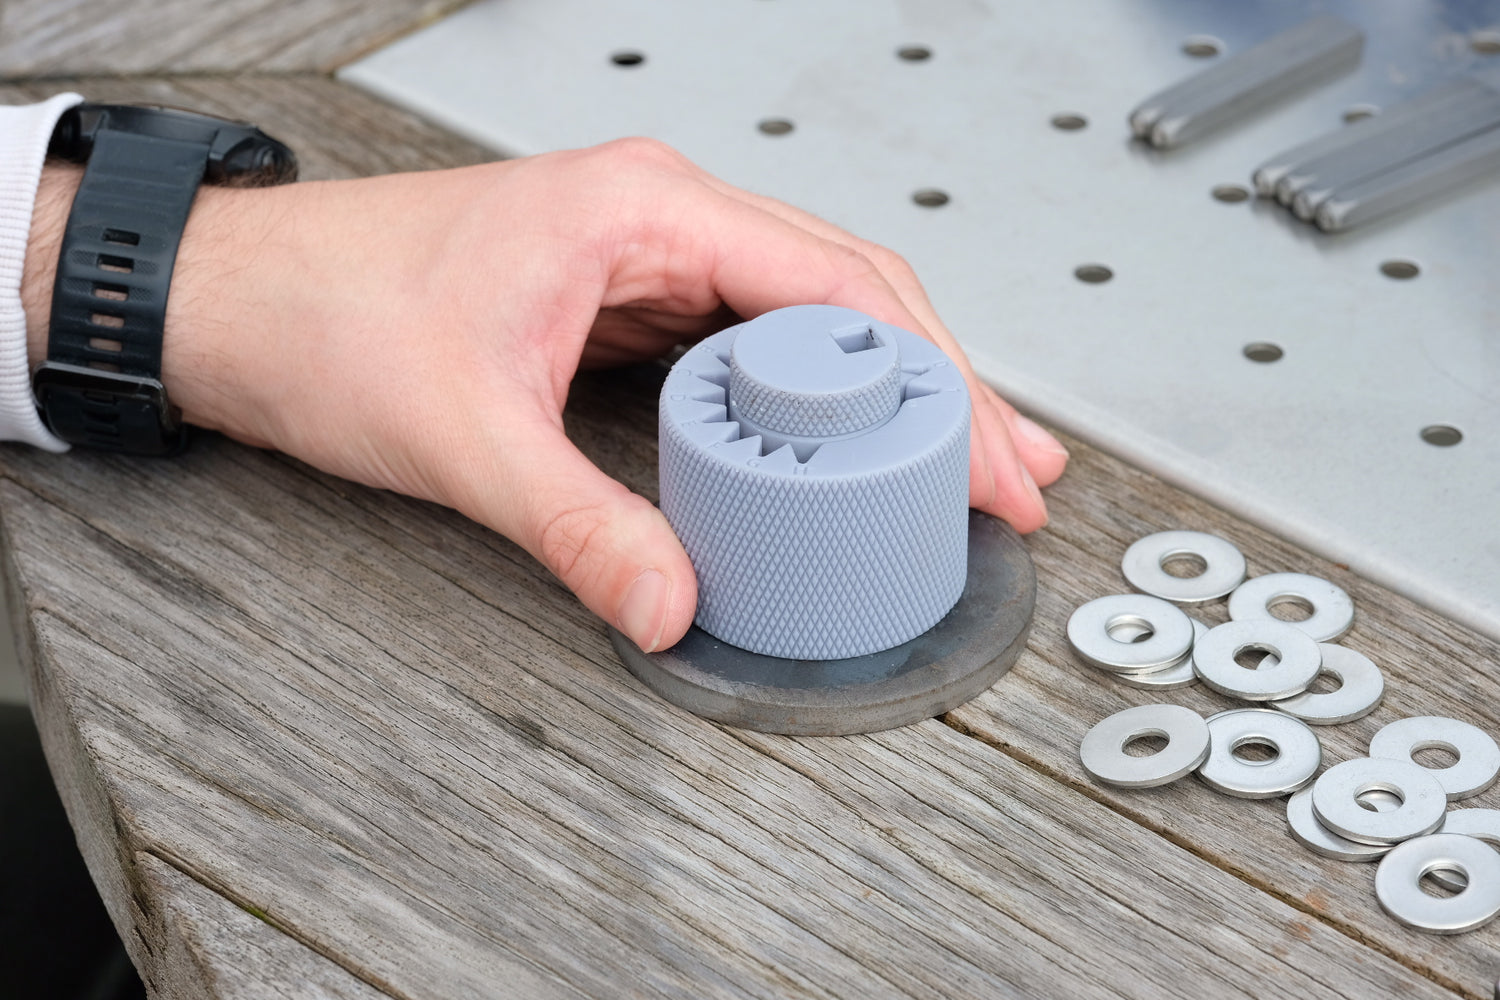
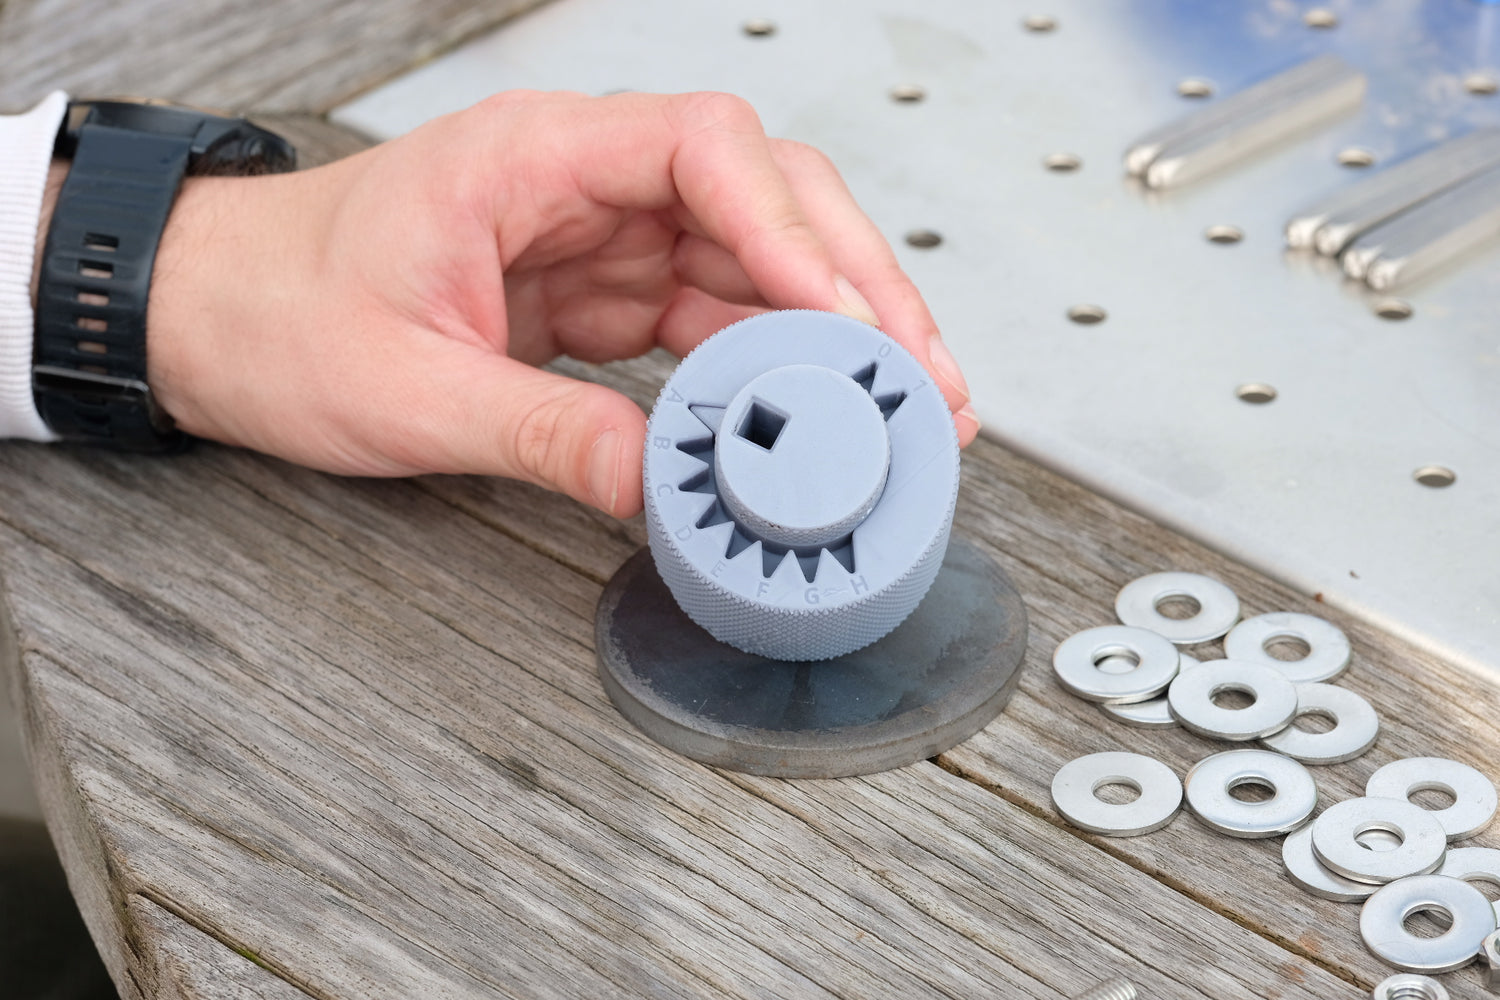
Step 3

Clean the stamp plate to remove dirt, or debris.

Place the stamping tool on the plate with the washers on the bottom.
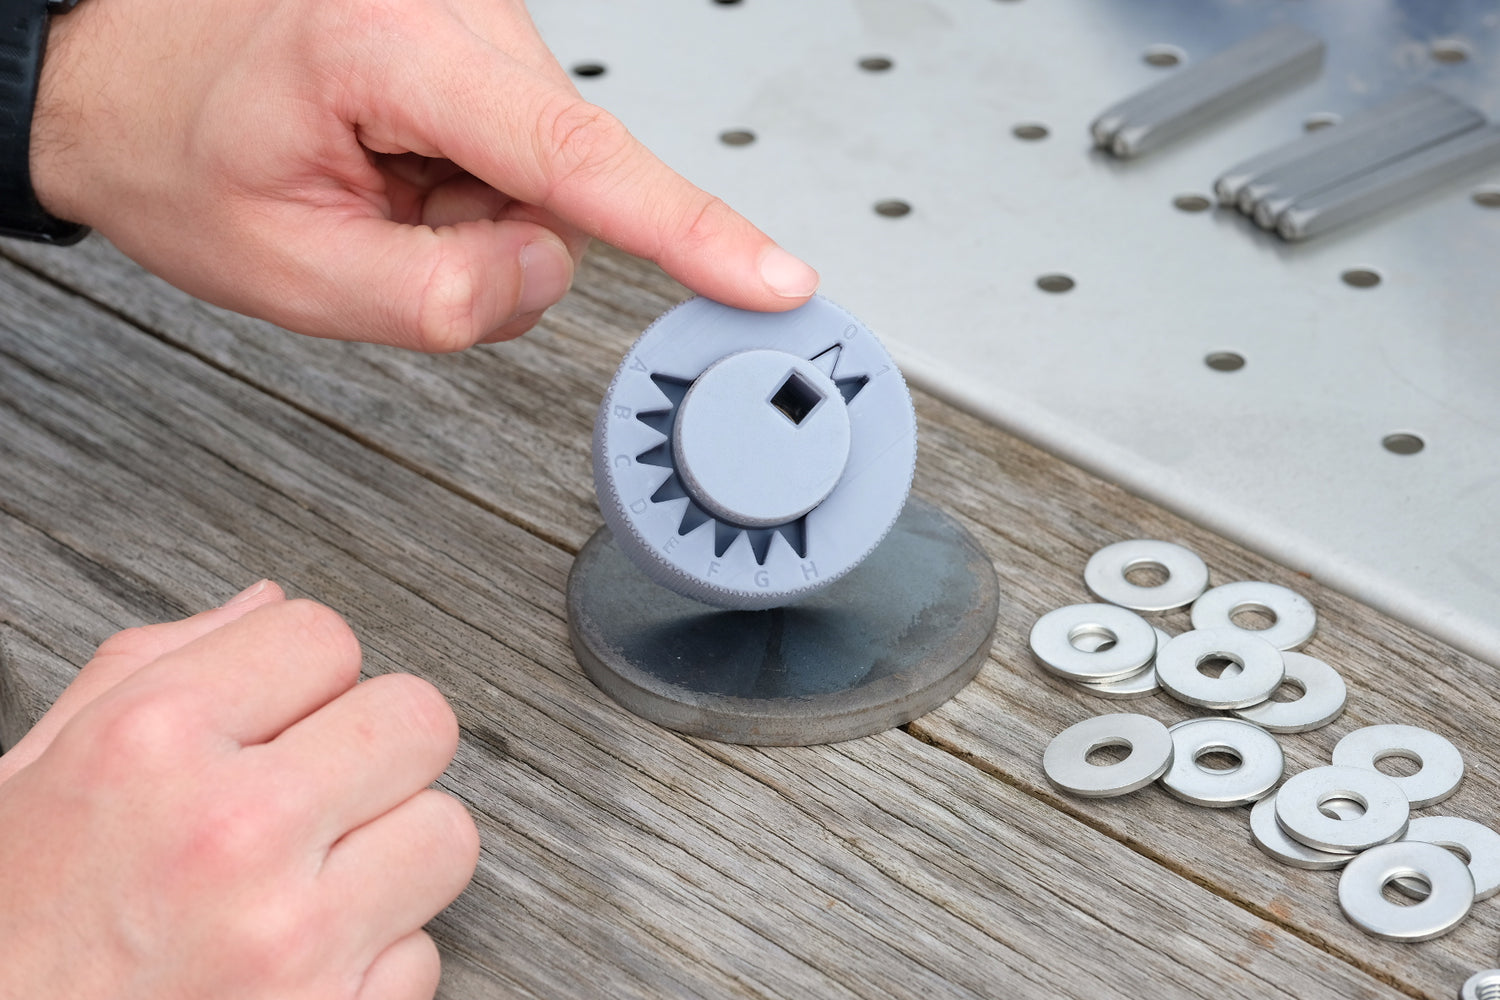
Step 4

The inner piece of the stamping tool will help you with alignment of your stamps on the washers. First place the inner part in the slots indicated by a number on top to start numbering your word.
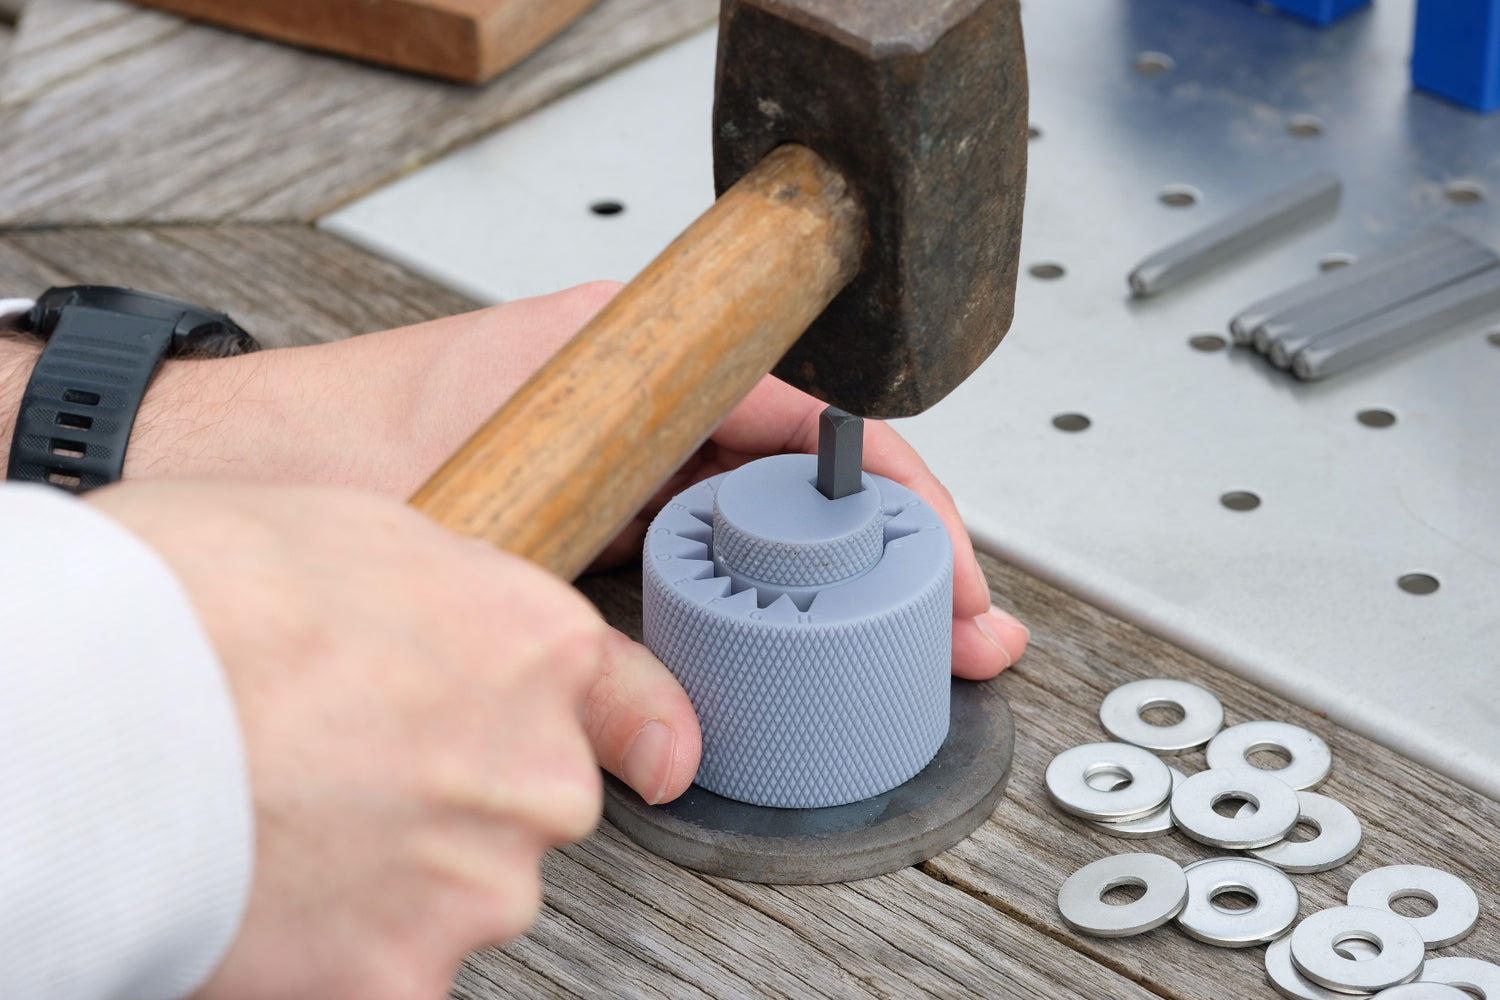
Step 5

Take your stamp and strike it firmly and directly with a hammer using controlled force.

Stamping Technique:
  • Hold the stamping tool perpendicular to the metal plate surface.
  • Apply one hard blow to the stamping tool to create a clear impression.
  • Avoid striking the stamping tool multiple times, as it may cause blurry or double impressions.
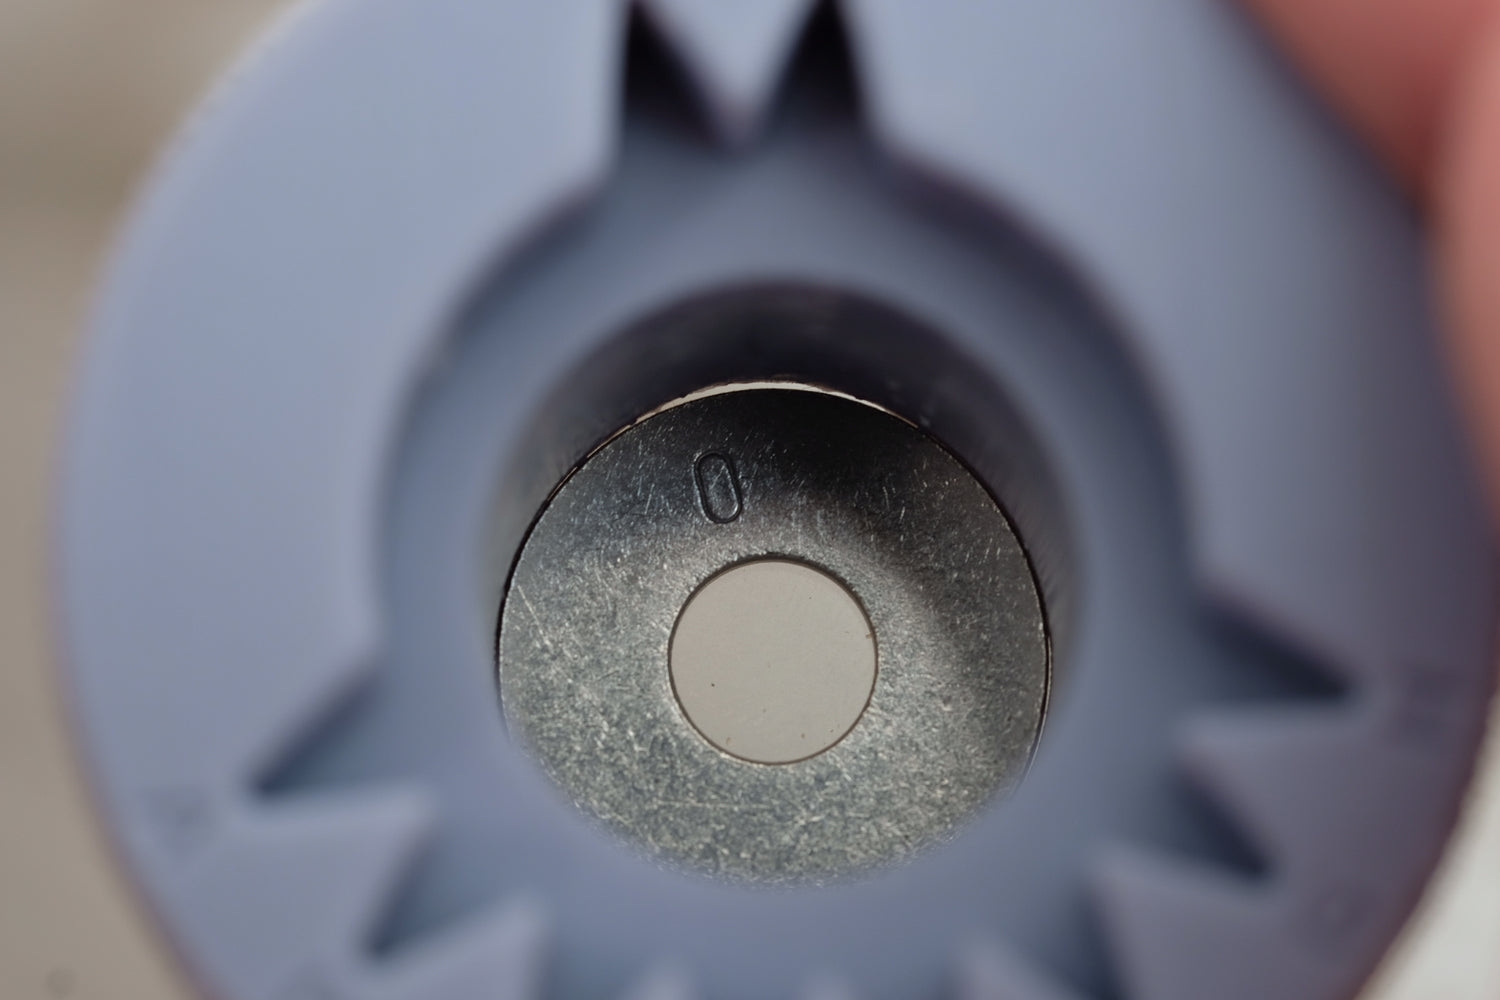
Step 5: Result

The result should look something like this if you open the tool.

Step 6

Repeat the process for the second number.

Step 7

Now you’ve numbered your washer you can start stamping your word. it is possible to use the stamping tool for words up to eight letters. You can decide the number of letters you want to use for each word, but they must contain at least 4 letters. repeat the stamping as with the numbers.
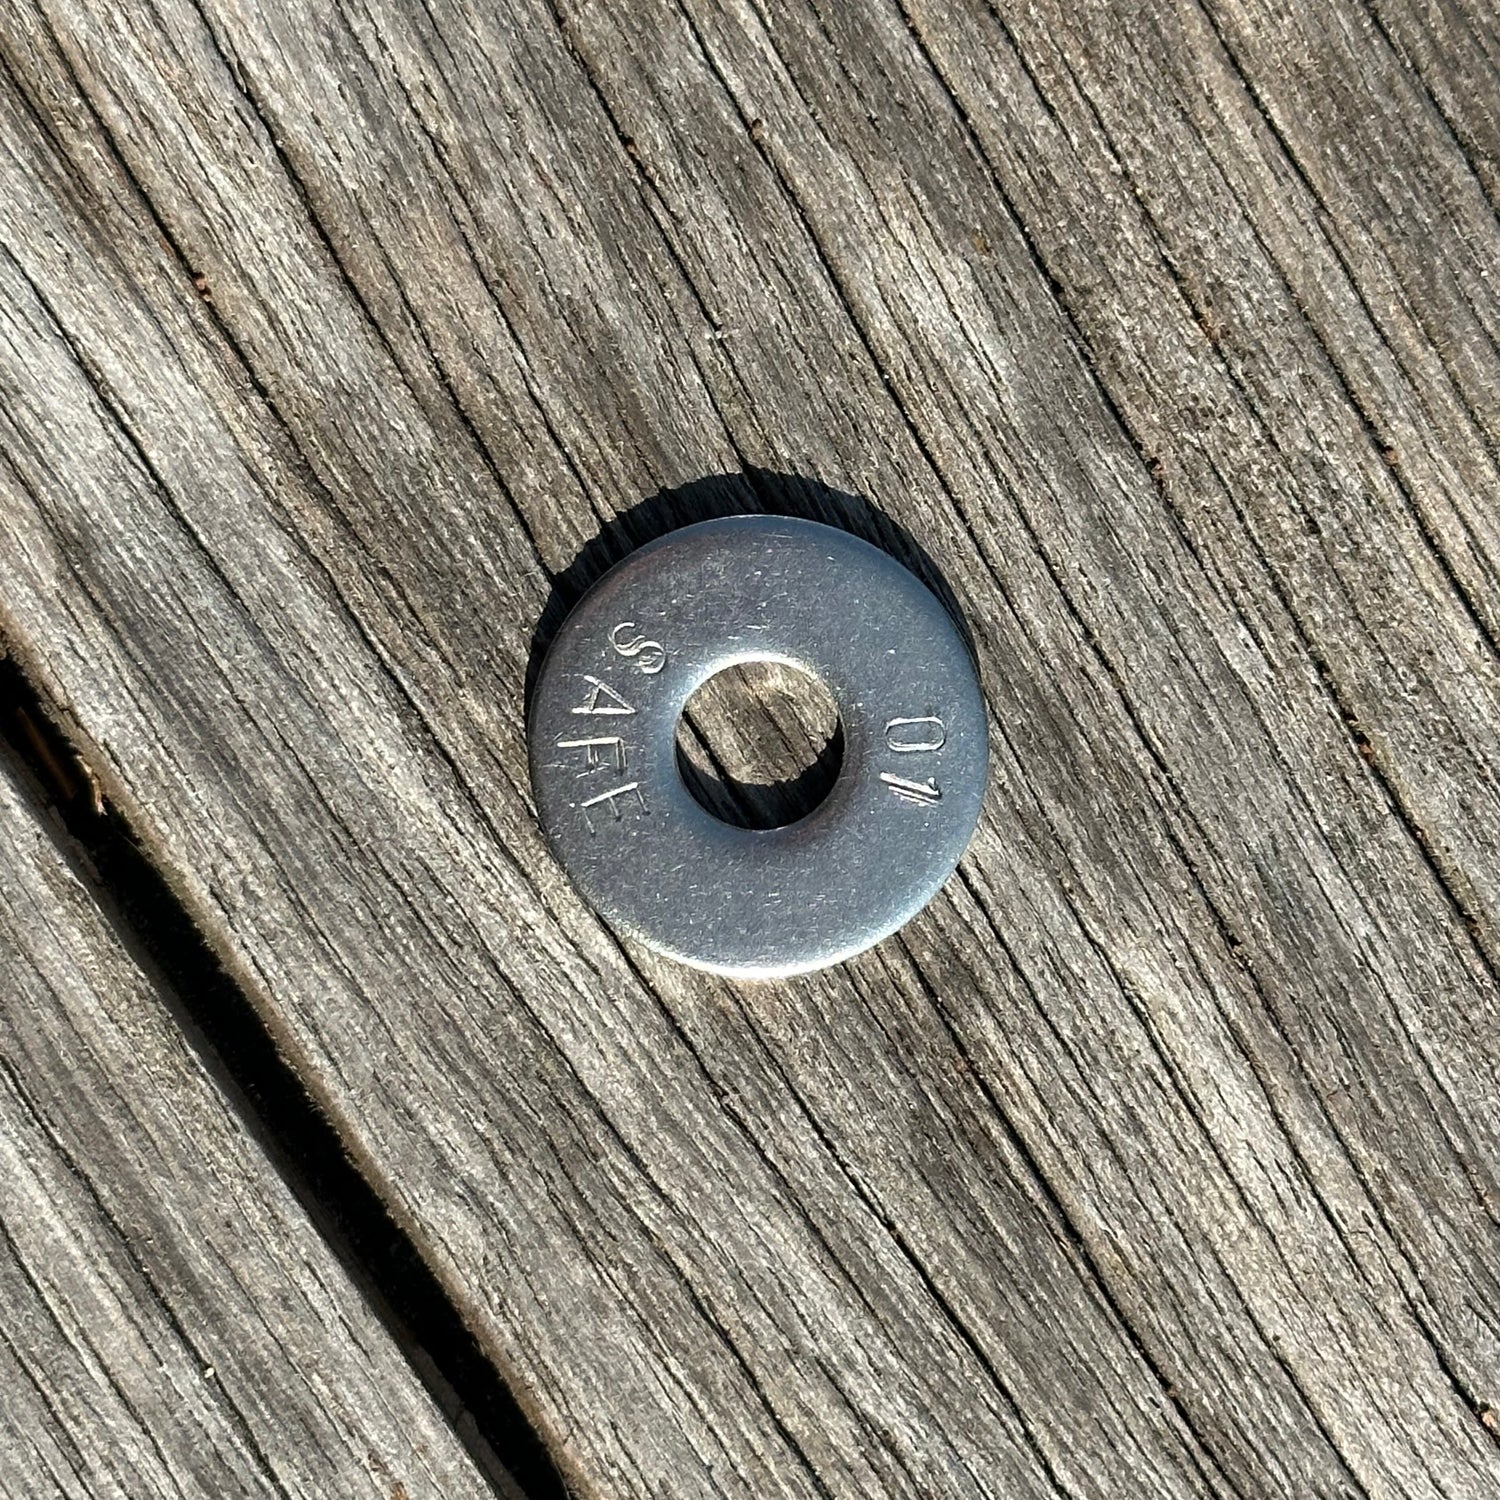
Result

After stamping your whole word, the washer should look something like this.

Step 8

After stamping all your washers slide them over the bolt. Firmly close the bolt with the nut.

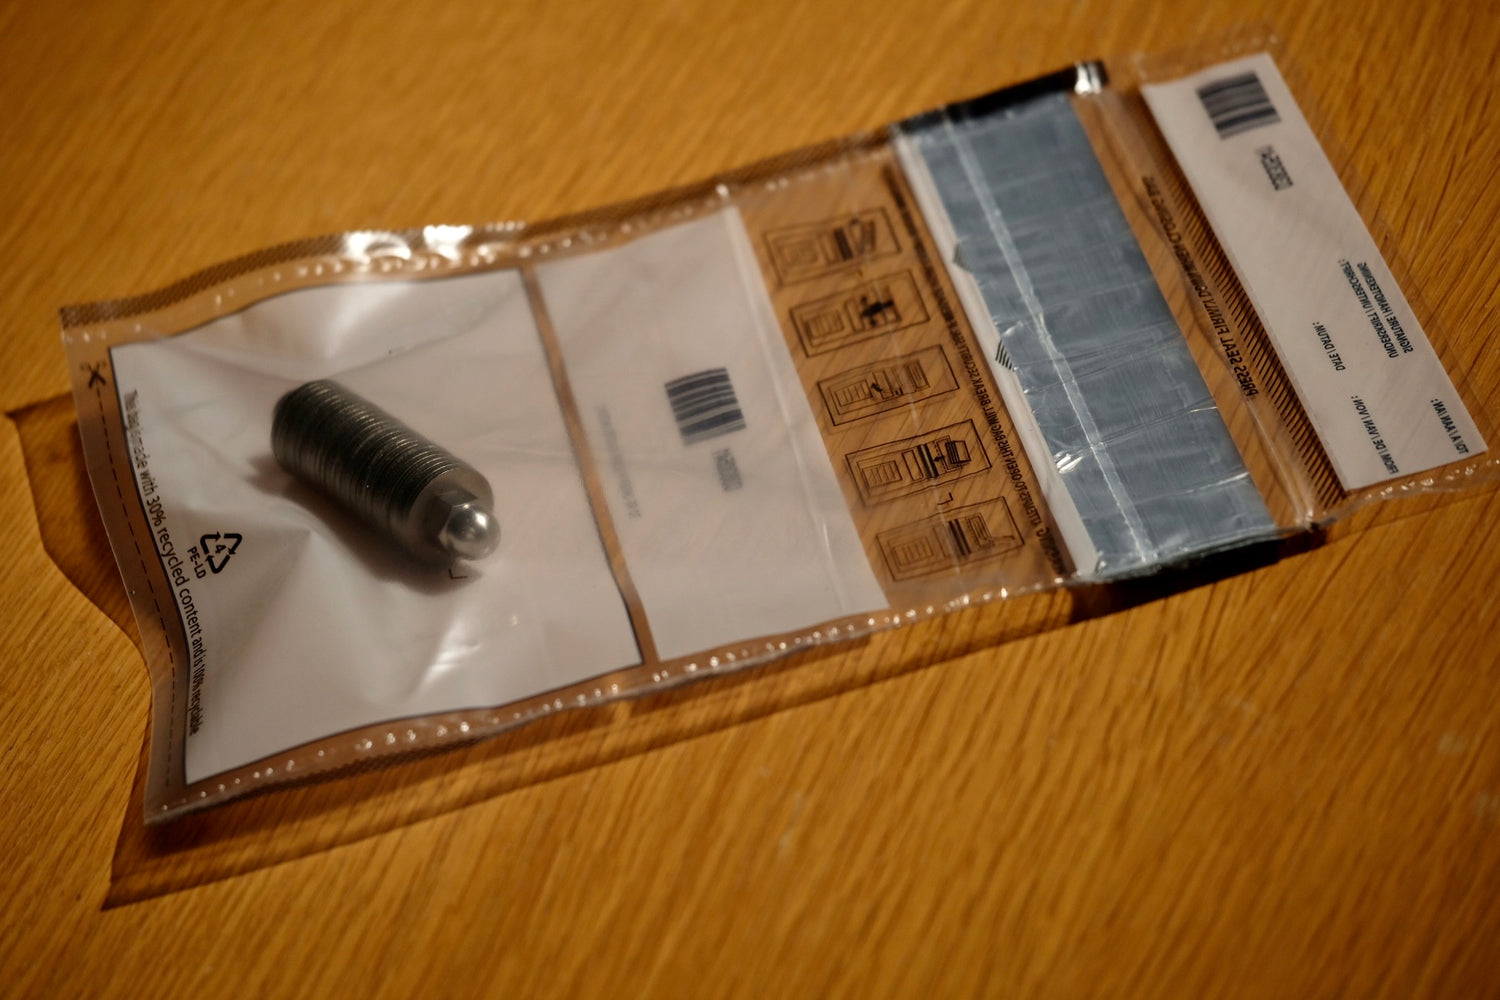
Maintenance and Care

  • Store the WordGuard inside a tamperproof bag in a safe place.
  • Inspect the tamperproof bag every now and then to make sure it wasn't compromised.